

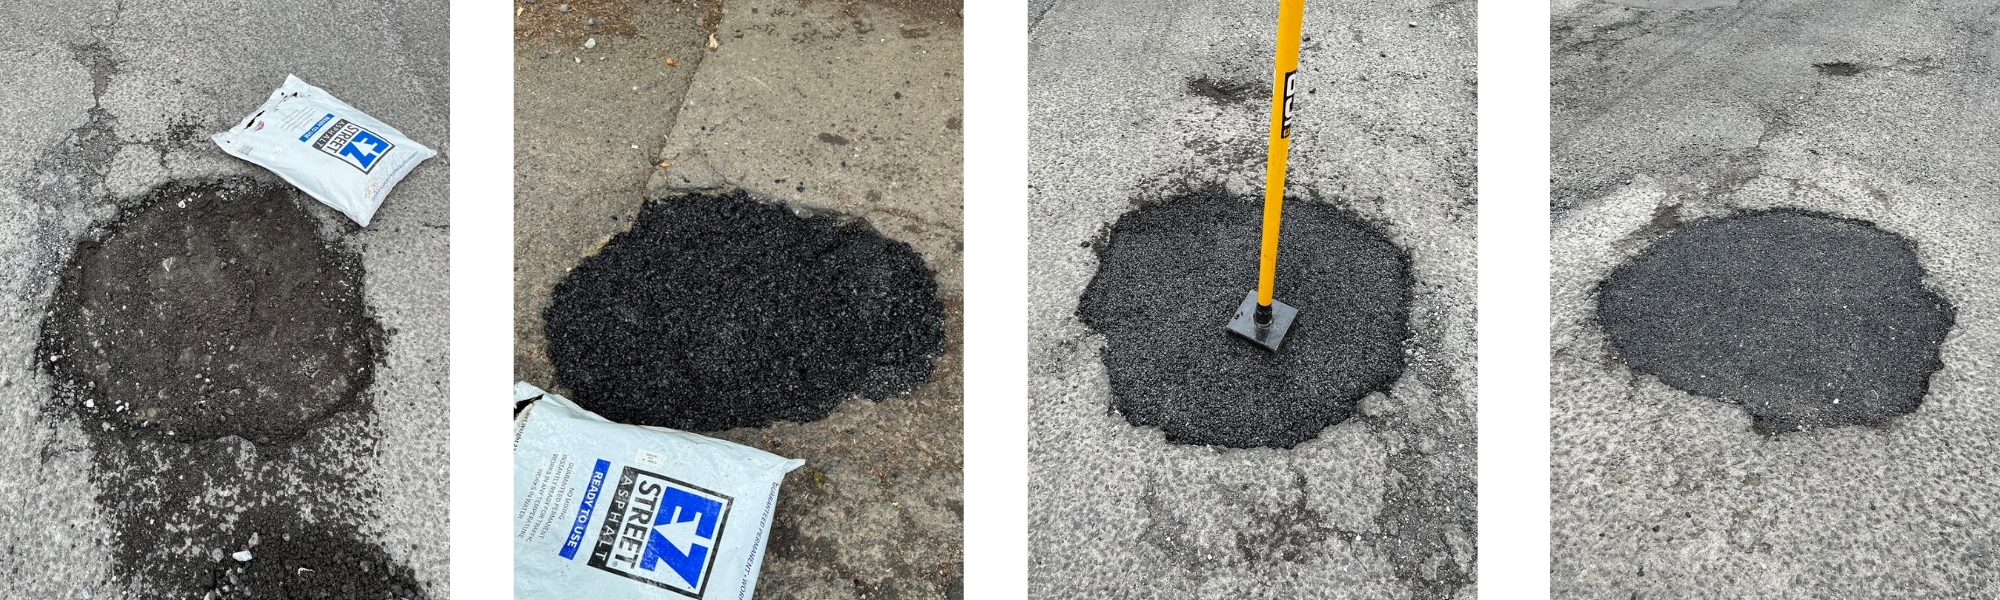
- Ensure your repair area has a complete edge all the way around (this can be achieved by cutting or chipping the surface to create the edge - recommended cut depth is 50mm).
- Brush away loose debris out of the repair area - EZ Street will work in water/rain.
- Compact the area inside the defect and apply first layer of EZ Street (Max layer lift should not exceed 50mm for deeper areas).
- Spread material out evenly to the edges and compact firmly with a hand tamper.
- Repeat layering process until flat with desired surrounding surface and add 25mm of material on top.
- Compact evenly and firmly (a whacker plate or roller will work best if you have this - if not a hand tamper will work)
- Your repair is now complete and is instantly traffic ready, it should sit slightly proud against the surrounding surface however traffic will offer secondary compression which will further flatten and strengthen your repair over time - Compaction is key with EZ Street.
REMEMBER: Do not interfere with the material after its been laid (digging tools in or shoe heels etc)
The below video shows a simple run-through guide of how to permanently repair a pothole.
If you do not have a compactor plate, a hand tamper will also work.